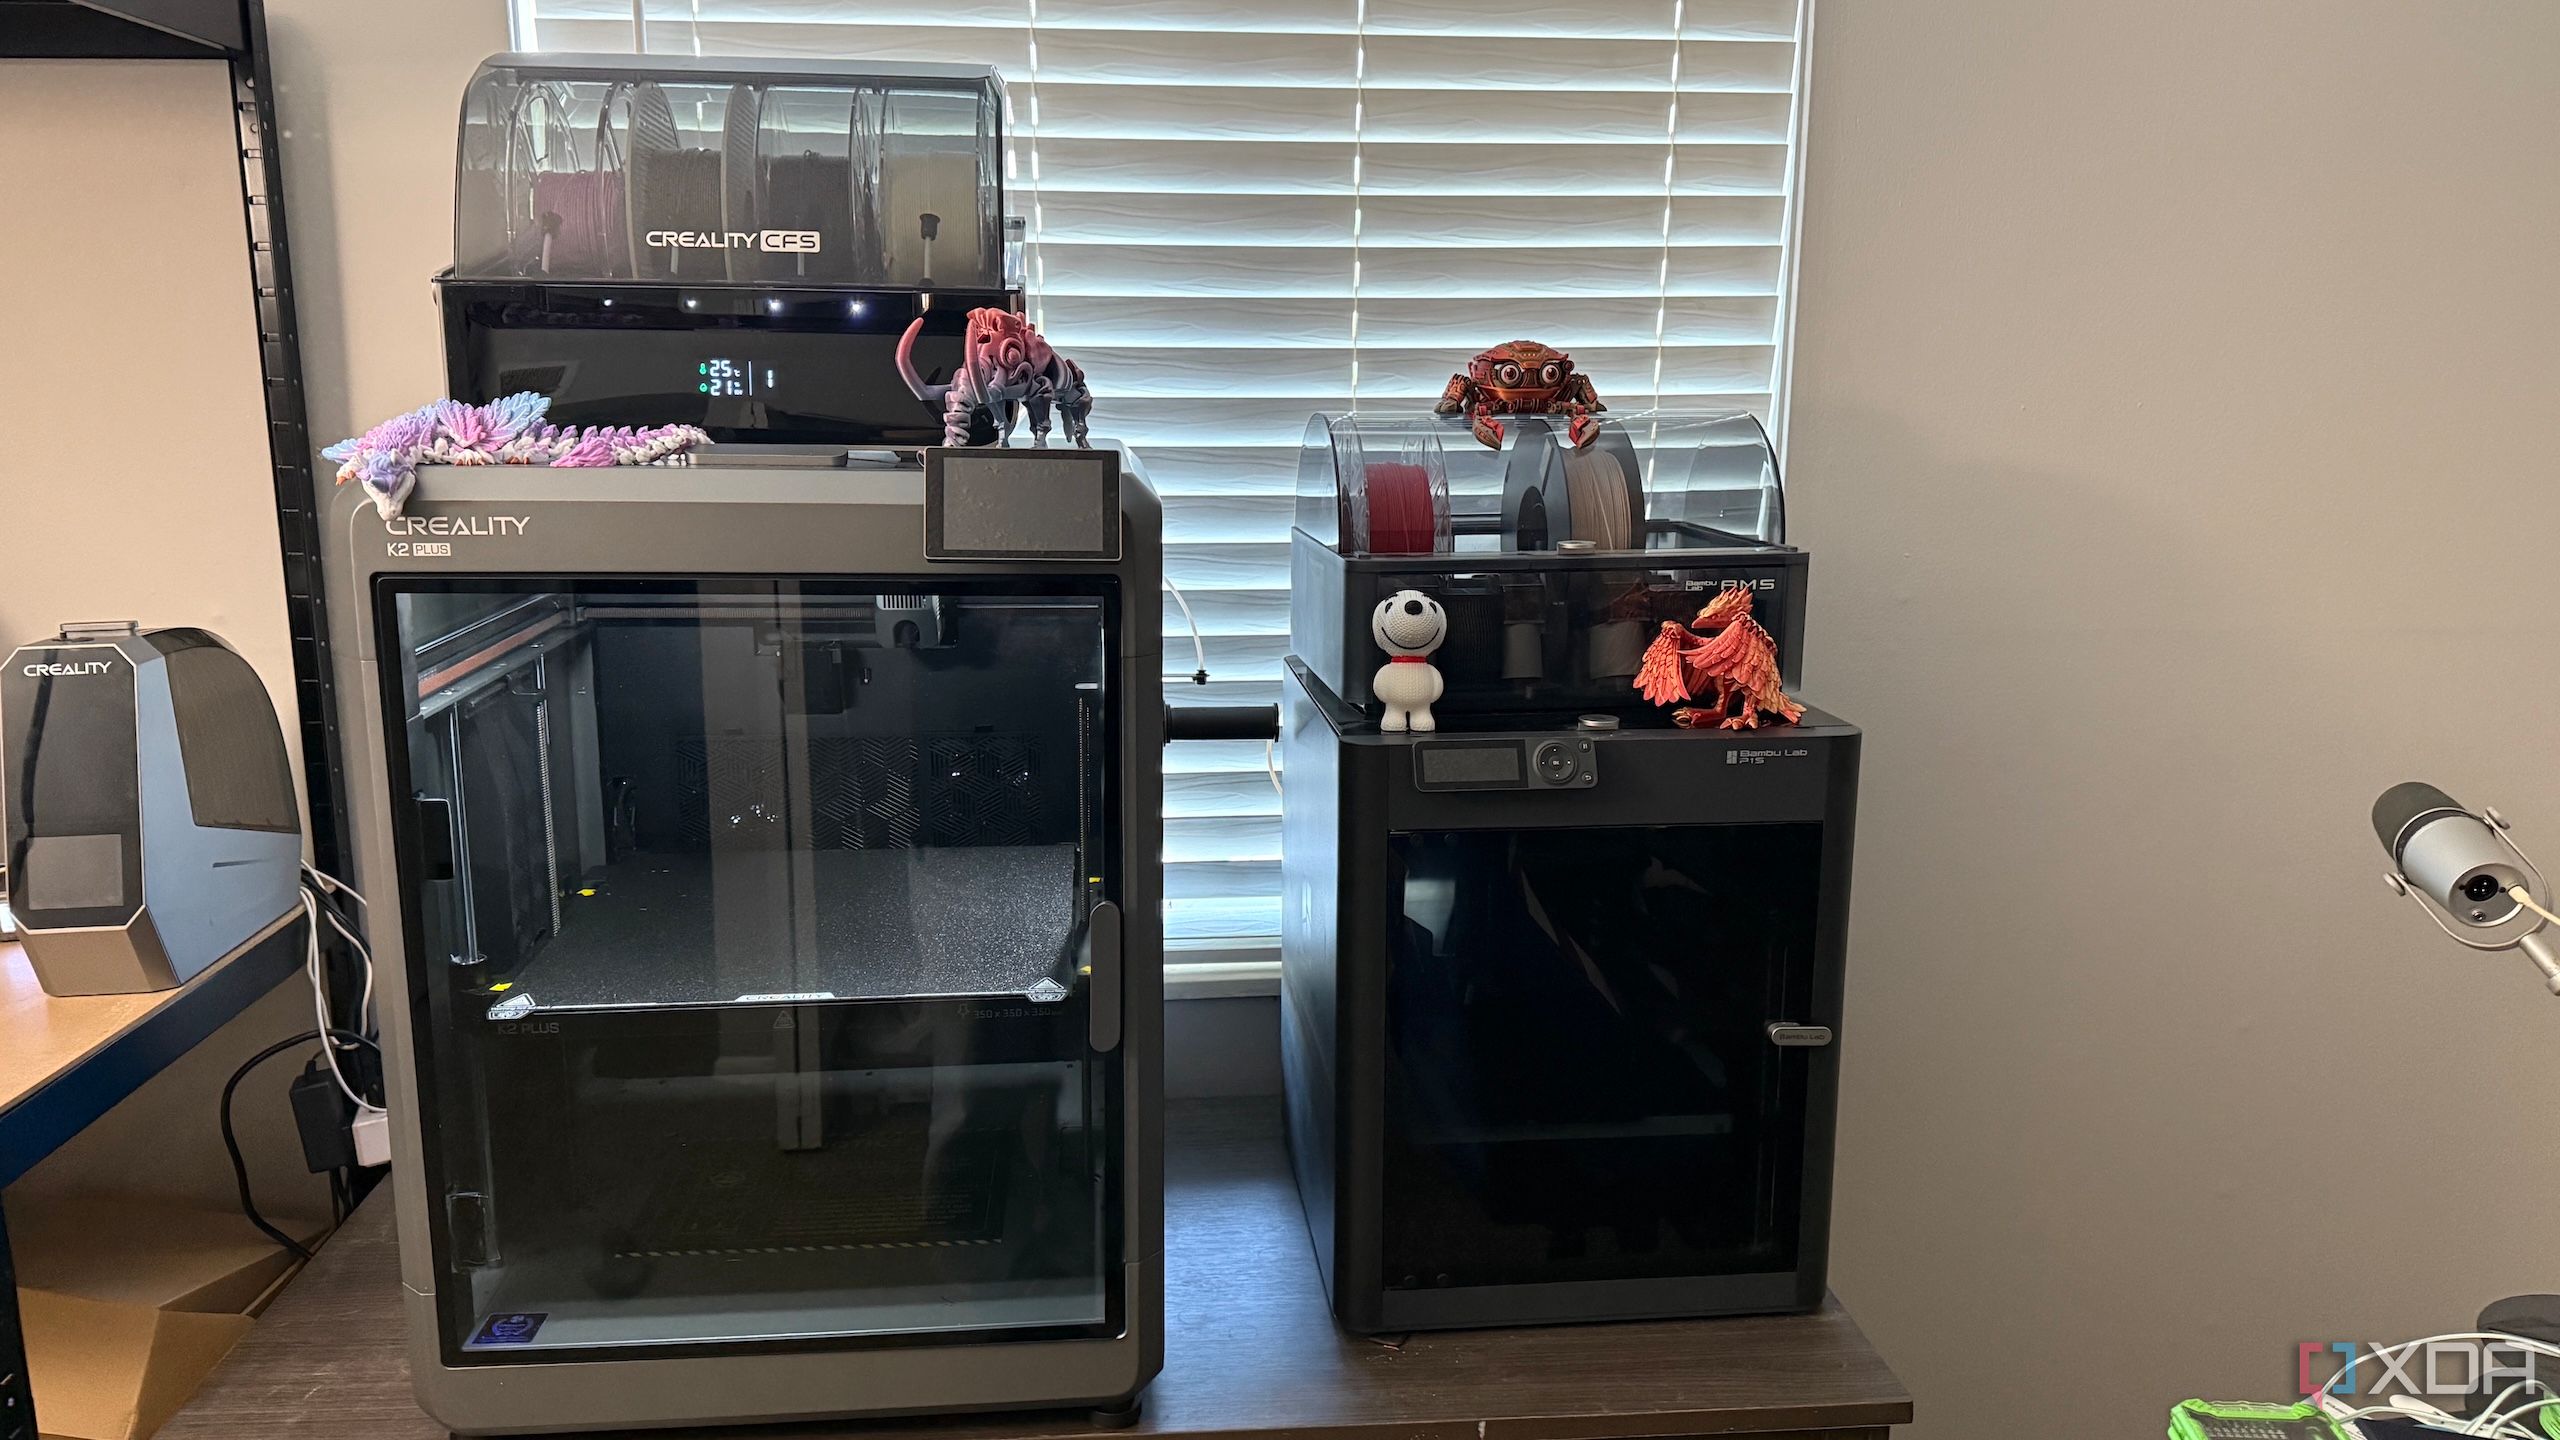
One of the best parts about having a 3D printer is being able to solve problems that no product on Amazon can quite fix. When it came to my smart home setup, I found myself constantly wanting better mounting options, cleaner cable management, and more elegant enclosures. Instead of settling for generic accessories or trying to hack something together with Velcro and double-sided tape, I started printing my own solutions, either my own designs or those that other makers had developed. Every print made my system feel a little more refined, and over time, these small changes added up to a smarter, more customized home.

Related
6 smart home gadget accessories you can 3D print for $5
Getting your smart home gadgets to fit nicely into your decor doesn’t have to be expensive when you 3D print mounts and other accessories for them
5
Mounted my sensors exactly where I need them
Custom brackets make placement much more effective
Most smart home sensors come with limited mounting options. You’re usually stuck with flimsy adhesive tape or cheap plastic cradles that don’t account for real-world room layouts. I wanted a setup that not only worked but also looked clean and stayed in place over time. So I fired up my 3D printer and made sensor mounts tailored for every corner, doorframe, and ceiling I needed.
For motion sensors, I printed angled brackets that tuck into ceiling corners and point down toward the room. This gave me a better field of view and eliminated blind spots. I also made low-profile mounts for contact sensors, especially for older wooden doors where adhesives failed. A little bit of customization went a long way in making the sensors more reliable and less intrusive.
Temperature and humidity sensors got special treatment too. I designed open-backed holders that allow airflow but still keep the device securely mounted. These brackets make sure sensors aren’t tucked behind curtains or books where readings could be skewed. Everything looks uniform and professional now, and I can make tweaks anytime I change my layout or upgrade a sensor model.
4
Designed wall mounts for my smart speakers
Cleaner installs with better sound positioning
Smart speakers work best when they’re placed up and out of the way. I didn’t like how mine looked just sitting on counters, where they took up space and sometimes struggled to hear me. That led me to design and print custom wall mounts for each model I own. Some are minimal, while others include cable routing or angled bases to direct sound better.
Mounting speakers at head height helps voice recognition a lot. I noticed fewer “I didn’t catch that” errors from Siri and Jarvis once the devices were off low tables. It also let me hide power cords in channels behind furniture or down the wall. With everything securely mounted, the speakers no longer slide around or get knocked over when I clean.
Aesthetics were just as important. The wall mounts match the color and curves of each speaker model, blending right into the wall or shelf area. I even printed a few under-cabinet mounts for the kitchen, where counter space is limited. Now, I can give commands while cooking, with no clutter or messy wires in sight.
3
Printed cable management clips and guides
Keeping smart home wires from looking messy
Cable clutter is one of the fastest ways to make a smart home setup feel chaotic. Between chargers, Ethernet cables, and USB power cords for hubs and sensors, things can spiral quickly. I started 3D printing cable clips, guides, and covers to restore some order. It made a massive difference right away.
Simple clips go a long way. I use U-shaped ones to guide cables behind furniture and C-clips with adhesive backs for vertical runs on the wall. When I need more, I print raceways that snap closed, hiding cables while allowing quick access. All of these are designed to match the diameter of the actual cords I’m using, so there’s no one-size-fits-none problem.
Some of the most helpful parts were the smallest. I printed little under-desk cable trays and corner wire brackets to keep things neat where I charge tablets or run smart light hubs. They’re especially useful in my entertainment center, where five devices share power and network connections. Now, everything is labeled, routed, and secure.
2
Created switch covers and smart button frames
Making wall controls look and feel intentional
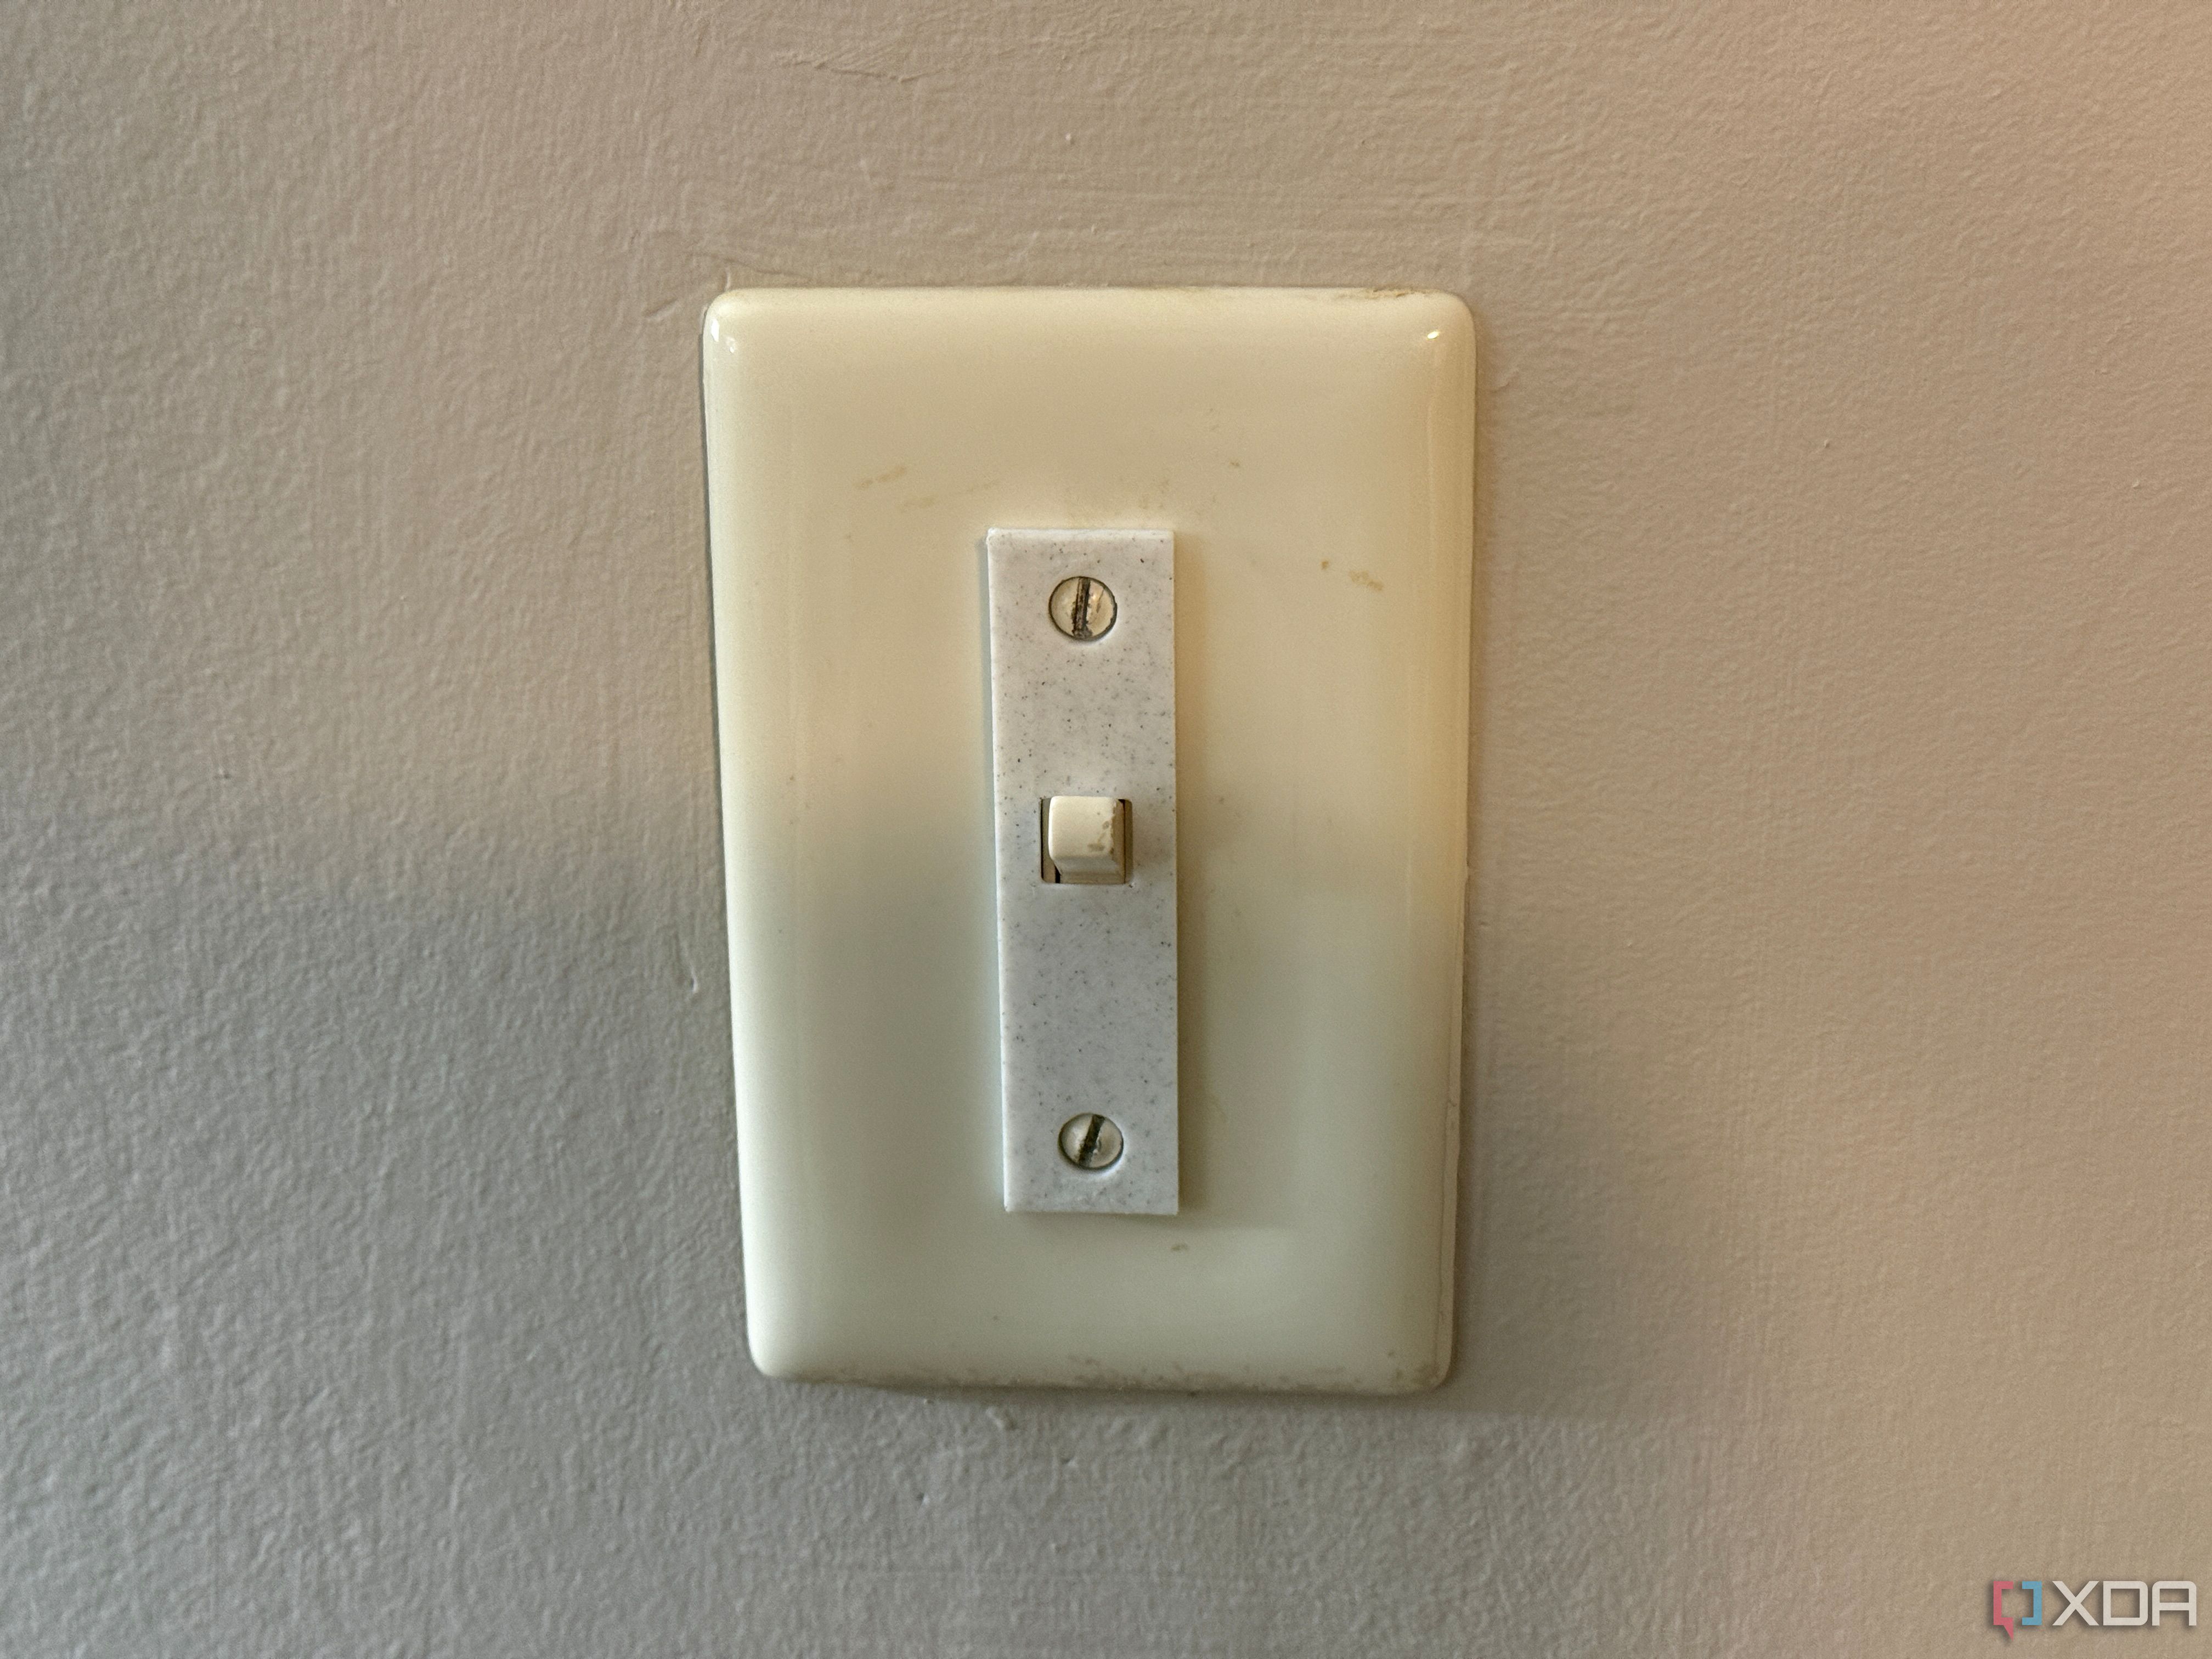
I love smart buttons, but they usually look out of place. Tiny plastic pucks sitting on a table aren’t intuitive, and they often go missing when I need them most. I’ve also got several light switches that control electrical outlets I’d rather not accidentally turn off. So I started printing wall-mounted frames and switch plate lockouts to solve these annoyances. The difference was immediate and surprisingly satisfying.
For example, I use several TRÅDFRI buttons and a couple of Aqara single-button remotes. I designed frames that either stick to the wall or mount over existing switch plates. One model replaces a light switch entirely with a button plate, while another combines a regular switch and a smart button in a single frame. Everything feels more integrated and user-friendly.
The wall mounts also help with routine. Having a smart button in the same place every day means I’m more likely to use it. My family quickly got used to turning off all the living room lights with a button near the door. It feels like the button was designed for the house, not added as an afterthought.
1
Built smart home hubs into custom enclosures
Enclosures protect hardware and improve airflow
I run Home Assistant on a Raspberry Pi and use a few RP2040 and RP2350 boards for various automations. Initially, all the boards were stored in generic plastic bins or displayed openly on shelves. That worked, but it wasn’t pretty. I decided to design proper enclosures that looked better, offered better airflow, and made each piece of hardware easier to manage.
Each enclosure serves a specific purpose. Some include mounts for small fans to keep boards cool, while others have snap-fit lids or cable routing holes. I’ve even designed stackable versions that let me organize multiple boards in one compact footprint. Printing my own cases lets me account for GPIO pins, antenna placement, and any sensor cables I need to connect.
These custom enclosures also improve safety and accessibility. I labeled each one clearly, so I always know what’s inside without opening it. When I need to update firmware or swap a board, I can do it without unplugging my whole setup. It makes my smart home feel like a real system, not just a tangle of wires and breadboards.
Custom prints turn a good setup into a great one
Each of these prints solved a real problem that off-the-shelf accessories couldn’t fix. They made my devices easier to use, better integrated into my space, and way more reliable. The ability to iterate and improve over time has been a huge bonus. If you’ve got a 3D printer and a smart home setup, combining the two is absolutely worth the effort.


