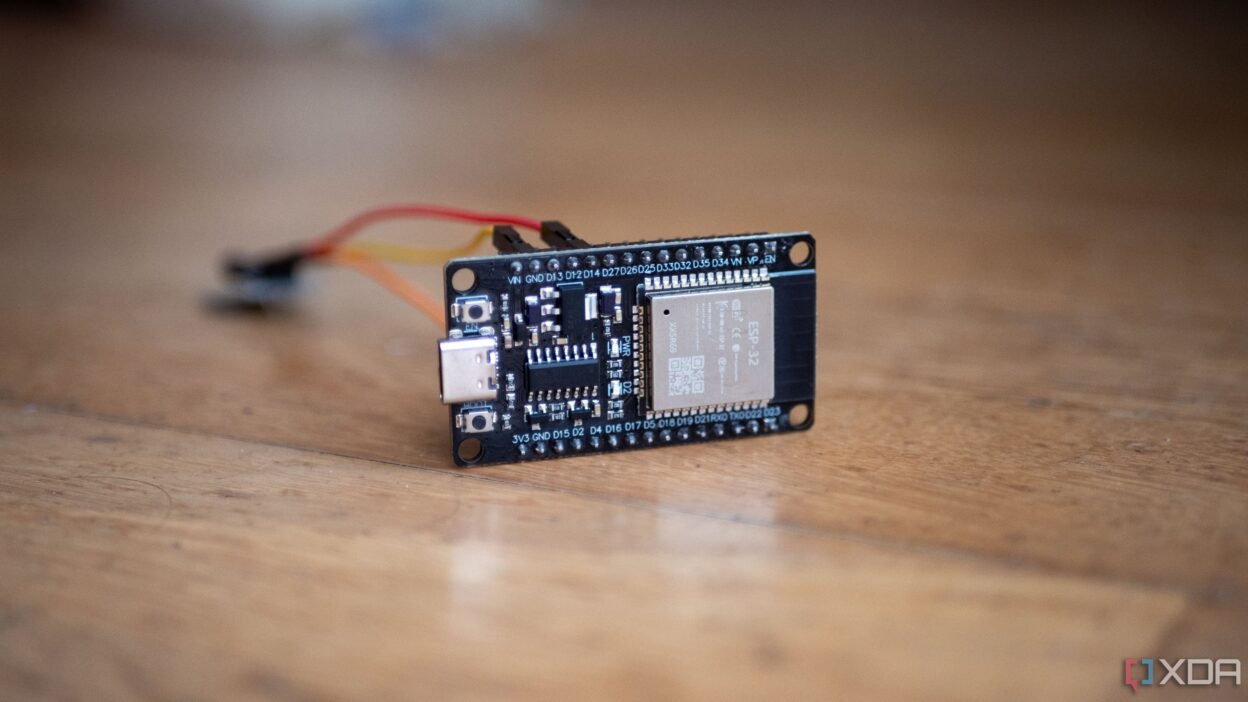
For smart home deployments, there are a lot of ways to track the presence of individuals in a room. There are motion detection sensors that use mmWave and PIR, and you can also use simple detection mechanisms like a door opening or closing with a door sensor. However, to detect continued presence, things get a bit more complicated. Many sensors claim to be able to detect continued presence, but I’ve found that sitting still (common when lying in bed or watching a movie on the couch) can trick them easily. That’s why I built a presence sensor with an ESP32, and it works perfectly.
How it works is simple: you can track devices using Bluetooth on the ESP32, and through a combination of presence and signal strength, you can define a sensor that changes to an “on” state when your device is within that range. You need some way to detect consistent devices, and that’s where Home Assistant and ESPHome comes in. Most devices will use Resolvable Private Addresses (RPA), which will advertise a random MAC address, though you can collect the Identity Resolving Key (IRK) to check if a random address belongs to a specified IRK. This key can’t be obtained with ESPHome, and can be complicated to retrieve even without ESPHome. You can track an iPhone by retrieving your IRK or using the Bermuda HACS integration, but the Android solution is a lot simpler and uses the Home Assistant app. There are still situations where Bermuda is great for Android users, too, which I’ll explain later on.
To be clear, there are caveats to this setup, but for most people, it should work pretty well. You’ll need an ESP32 capable of seeing Bluetooth Low Energy beacons, and you’ll need the Home Assistant app and ESPHome. The Bluetooth Low Energy stack consumes a lot of RAM on the ESP32 as well, so you may run into issues when adding this to your already-in-use devices. You can still try it out even if that is the case, as if your ESP32 runs out of RAM with it enabled, you can always push an updated version of your code with it removed. Finally, this relies on your phone or smart watch being present to work.
Crashes are likely to occur if you include too many additional components in your device’s configuration. Memory-intensive components such as Voice Assistant and other audio components are most likely to cause issues.
With that said, it’s super easy to get working if you have a spare ESP32 or you aren’t using many resources on it.
Setting up your phone or smartwatch
A simple setting in the Home Assistant app

The first thing you’ll want to do is head over to the Home Assistant app on your phone, and go to Settings and Companion app. Go to Manage sensors and scroll down to BLE transmitter. What we’ll be doing here is enabling an iBeacon, an Apple-made protocol that allows for tracking specific devices and is arguably a precursor to AirTags, given that it was initially aimed at small, trackable devices. It’s very power efficient, and there are settings here that we can enable to make it even more so. If you have a Wear OS smartwatch, you can enable it through the same steps in the Home Assistant app, especially if you frequently move around the house without your phone.
The primary settings we want to enable are lowPower in “Advertise mode” and ultraLow in “Transmitting power” once you’ve enabled the BLE transmitter. As well, you can scroll down to select “Transmit on Home network only”, which is defined in the Home Assistant Companion app settings. Add all of your home network SSIDs (if you have multiple), and you’ll only broadcast those beacons when on your home network. It helps with privacy, but also means that you’ll conserve battery life when out and about. Finally, at the bottom of the BLE transmitter page, note the UUID. This is what we’ll specifically be looking for on our ESP32.
With that setup and ready to go, we can move over to ESPHome, where we can add our code to track a phone or smartwatch for recognizing presence. If you find that there’s a sizeable impact on battery life, you can disable the BLE transmitter option in the Home Assistant app and then use Bermuda instead. This can then use an ESP32 set up as a Bluetooth Proxy, and doesn’t need any other specific code to work. Bermuda requires a bit more setup overall, but it can be a lot nicer in the long run and can even estimate distance.

Related
I switched from Alexa to Home Assistant Voice — here’s how it went
The process wasn’t the smoothest, but it’s much better than Alexa.
Setting up your ESP32 with ESPHome
Setting up a simple binary sensor

Once you’re ready to go in ESPHome, the following lines of code are what I use on my ESP32 to detect my presence. Note that you will need to ensure that everything is properly indented and that you enter your UUID in the “ibeacon_uuid” field. This will enable a tracker to pick up your UUID when it’s nearby, and will expose a sensor in Home Assistant that switches to “on” when you’re nearby. I also use this ESP32 as a controller for my Govee H615B lights, and this sits nicely alongside it.
binary_sensor:
- platform: ble_presence
ibeacon_uuid: '(UUID here)'
name: "ESP32 BLE Tracker Adam's phone"esp32_ble_tracker:
id: tracker
on_ble_advertise:
- then: # This isn't necessary, but can be good for debugging by adding code in the "then:" block
scan_parameters:
interval: 400ms
window: 200ms
Once added, you can install it to your ESP32, and it should just work. It usually picks up my device within seconds of me entering the room, though it can sometimes take up to two minutes. Still, there’s a lot of room for automations here. Here’s some of what you can do:
- If it’s in your bedroom and you’re there for a few minutes after sunset, enable a “bedtime” mode
- If it’s in your office, enable a “work mode” if it’s during your working hours
- Turn on or off lights as you enter or leave a room
- Turn off devices in other rooms when in one room for an extended period of time
There’s a lot of room for testing and automating with this, and the beauty of it is that you can buy an ESP32 for just a couple of dollars. Any basic ESP32 will do, as most of them support Bluetooth Low Energy, with notable exceptions being the ESP32-S2 and the ESP32-P4. You can add it to an existing setup or repurpose an older ESP32 into a presence detection mechanism. It’s a great way to get more out of these little devices, and a way to add even more functionality to devices you might already have in various places around your home.