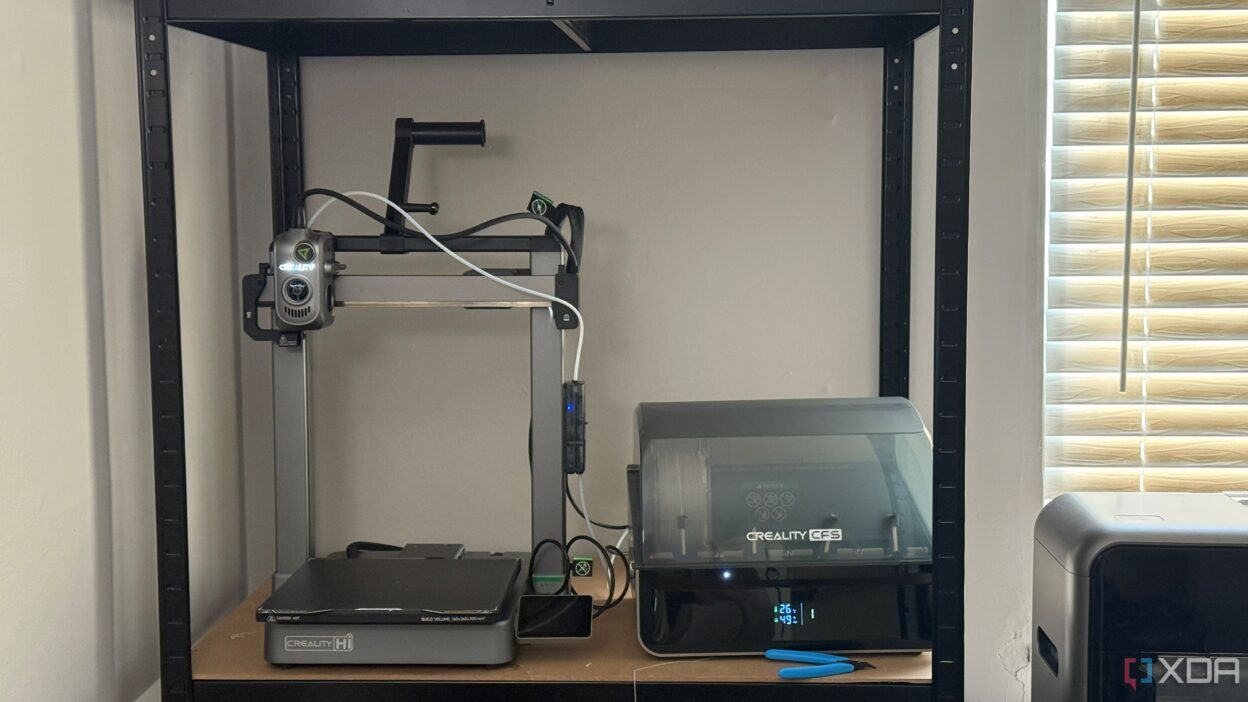
You don’t need to be a full-time maker to find a 3D printer useful. In a smart home, it’s one of the best tools you can have on hand. From replacing a busted sensor mount to designing something that simply doesn’t exist yet, it’s hard to overstate how much convenience and customization it adds. What started as a hobby has now become one of the most practical parts of my home automation toolkit.
If you’re just getting into 3D printing, you don’t need a high-end printer or a garage full of tools. A reliable entry-level printer like the Anycubic Kobra 2 or Creality Ender 3 V3 SE is more than capable.
I’ve printed dozens of parts that make my smart home cleaner, more capable, or just easier to manage. Over time, I’ve learned which prints are worth refining and which ones can be one-offs. Most importantly, I’ve stopped waiting for someone else to sell me a solution. If I can model it or find it online, I can print it in a few hours.
Smart homes need smart accessories
Printed parts are the missing piece for automation
If you’re deep into home automation, chances are you’ve already run into the limits of off-the-shelf hardware. Whether it’s a sensor that doesn’t sit flush against your wall, a hub that needs a bracket, or a display that needs a case, there’s almost always a little something missing. This is where a 3D printer makes all the difference. Instead of settling for awkward placements or ugly tape jobs, you can print the perfect mount or enclosure.
In my setup, I’ve printed wall mounts for Zigbee and Matter sensors, custom cases for Raspberry Pi devices, and brackets for ESP32-based displays. A few of these were one-time fixes, but others have become essential parts of my daily routines. Some models need tweaking for airflow or better aesthetics, and it’s easy to iterate. With access to sites like Printables and MakerWorld, I can often find a model that’s close and modify it in Fusion 360 or Tinkercad.
Not everything needs to be technical, either. I’ve printed cable channels to hide wiring along baseboards, simple hooks for hanging motion sensors, and even stylish covers for smart light switches. With the right filament, they blend right in. None of these projects is flashy, but they’re the kind of functional upgrades that keep a smart home running smoothly.
Custom mounts and enclosures matter
Designing around your devices makes them better
The reality is that most smart home gear isn’t designed with your space in mind. That’s why printed accessories are so essential. I’ve printed mounts that hold sensors at just the right angle, enclosures that allow ventilation without dust, and backplates that make wall-mounting easier. These prints solve particular problems that would otherwise be left up to double-sided tape or hope.
One example I keep coming back to is a humidity sensor I use in the kitchen. It needs to sit high, close to a vent, and stay secure while exposed to steam. Commercial mounts either don’t fit or block airflow, so I designed a minimalist clip mount that snaps into a small bracket screwed into the upper cabinet. It works flawlessly, and I’ve reused that design elsewhere with minor tweaks.
Another project was a case for my Home Assistant tablet display. I wanted something clean and low-profile that looked like a built-in panel. The print includes a recess for the USB-C cable and a lip to help it sit flush against the wall. It’s one of the few smart home components guests actually compliment, and it only took one evening to prototype.
What you need to get started
Basics to start printing smart home parts
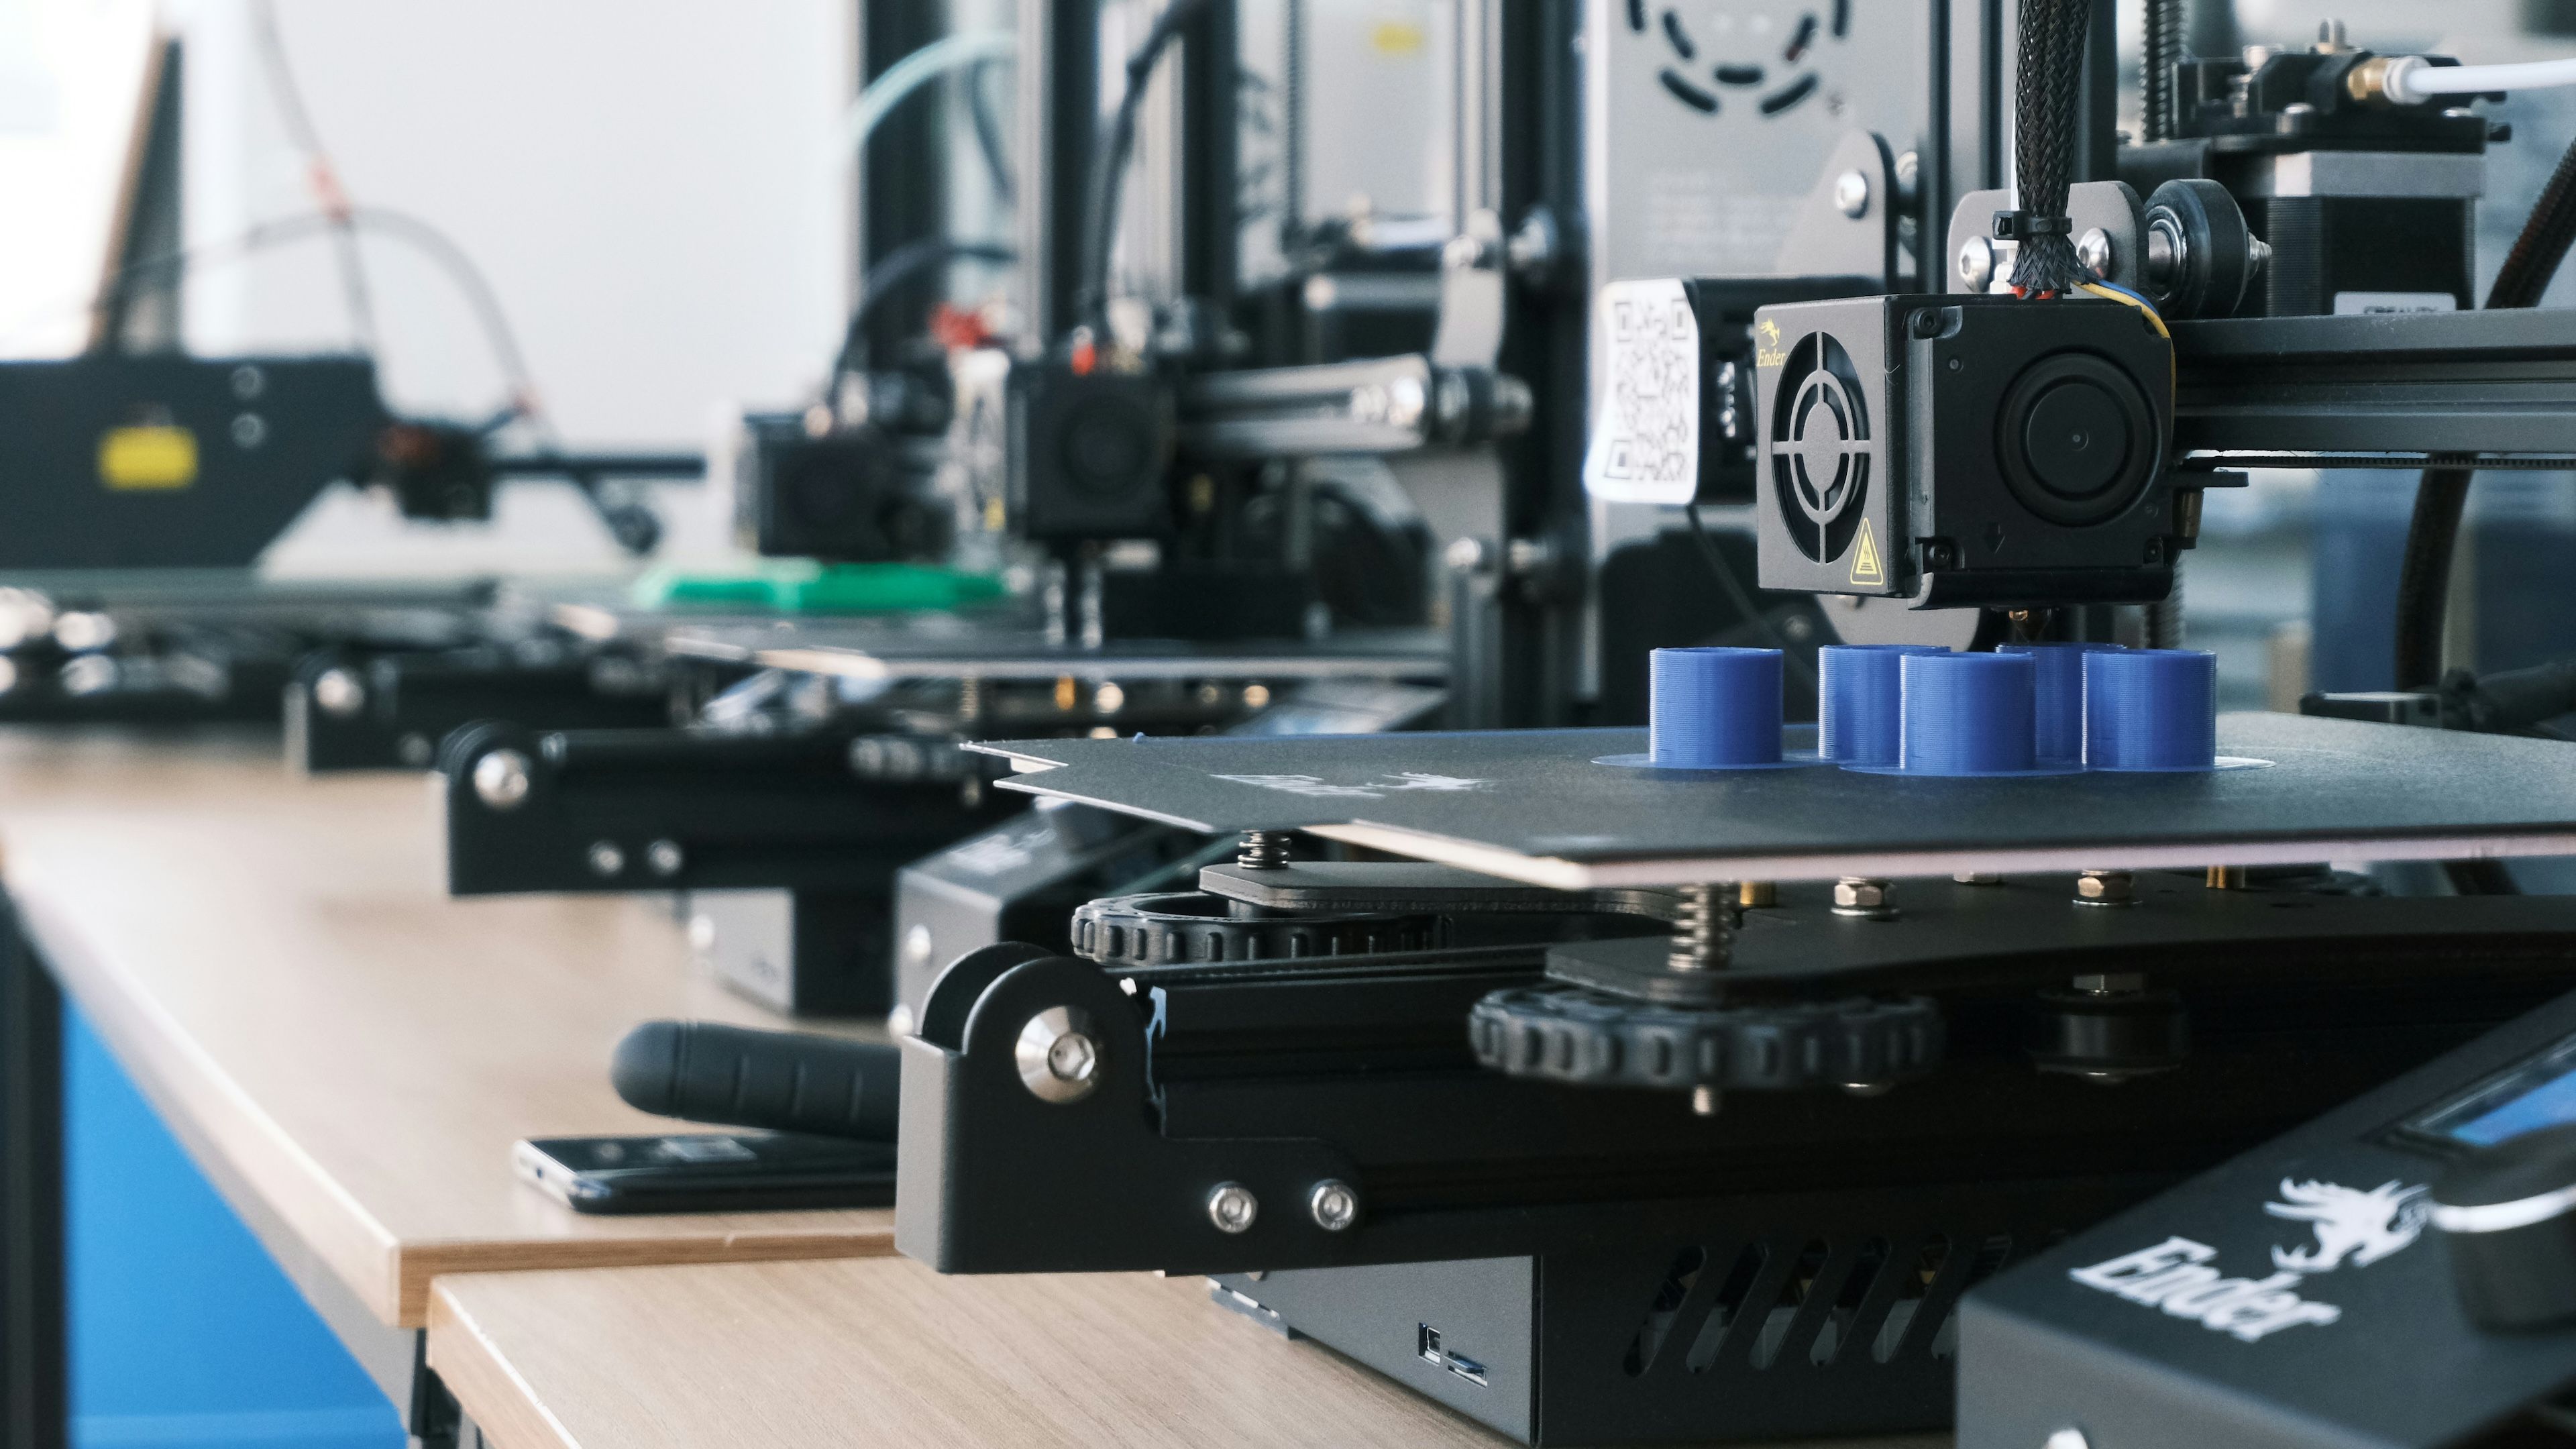
Source: Unsplash
If you’re just getting into 3D printing, you don’t need a high-end printer or a garage full of tools. A reliable entry-level printer like the Anycubic Kobra 2 or Creality Ender 3 V3 SE is more than capable. PLA is the go-to filament for most indoor prints, while PETG is better for parts exposed to heat or humidity. You’ll also want a basic set of digital calipers and a hobby knife for post-processing.
Slicing software like PrusaSlicer or Otca Slicer will handle most of the heavy lifting. If you’re designing your own models, Fusion 360 is a powerful option with a generous free tier, while Tinkercad is excellent for beginners. You don’t need to start from scratch either. Sites like Printables, MakerWorld, and Thingiverse are packed with pre-made models you can download and tweak.
Here’s a simple list to get you going:
- A 3D printer (FDM, not resin)
- PLA or PETG filament
- Slicing software (PrusaSlicer, Orca Slicer)
- Access to model repositories (Printables, MakerWorld)
- Optional: CAD software (Tinkercad, Onshape, Fusion 360)
- Digital calipers and cleanup tools
Once you’ve got the basics, start small. Print a sensor bracket or cable holder before tackling more complex projects. You’ll quickly learn what works best for your needs.
It’s not all perfect, of course
There are still limitations to keep in mind
Even with all the benefits, 3D printing isn’t a magic bullet. Some designs take a few iterations before they fit just right. Depending on your printer and filament, print failures can still happen. And while PLA works great for most indoor uses, it’s not ideal for high-heat environments like a hot attic or near a heating vent.
There’s also the time investment. Printing a small mount might take an hour or two, but complex designs with supports can run for several hours or even overnight. If you’re designing from scratch, modeling can take longer than printing. You’ll also need to learn how to level your bed, troubleshoot occasional jams, and dial in your slicer settings to avoid stringing or warping.
And yes, 3D printers can be noisy. I keep mine in a corner of my office, and run it at low speeds while I’m working. Overnight, I crank up the speed and close the door to cut out the noise. If you’re in a tight space or sharing a room, that might be a dealbreaker. But if you’re willing to work around those quirks, the upside far outweighs the hassle.
A 3D printer adds a layer of adaptability that’s hard to match in a smart home. It lets you solve problems as they come up and even make improvements you didn’t know you needed. Over time, the savings from not buying overpriced accessories or replacement parts really adds up. More than anything, though, it gives you control over placement, presentation, and functionality. That’s what makes it a no-brainer for me.


