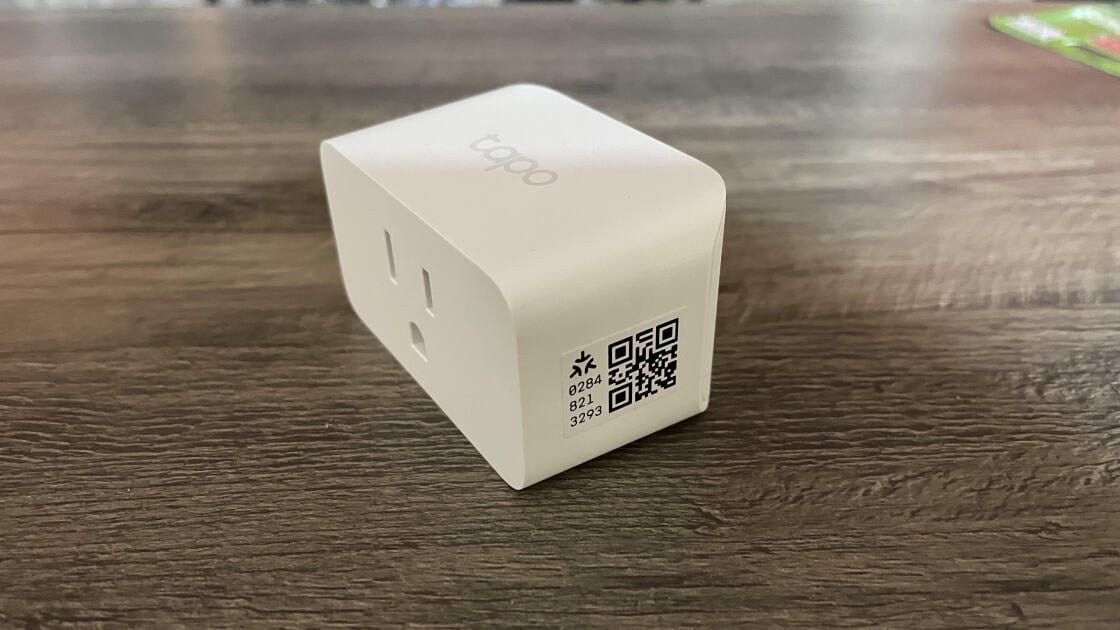
To install the plug, I tapped the plus button on the Tapo app Home screen and selected the P110M from the list of plugs. I plugged the device into an outlet, confirmed that the power LED was flashing orange and blue, and within seconds, the plug was identified. I selected my Wi-Fi SSID, entered my password, and gave the plug a name and a location. To add the plug to my HomeKit account, I made sure that my Apple HomePod was powered up, opened the Apple Home app, and tapped the plus icon at the top of the screen. I tapped Add Accessory, then used my phone to scan the Matter QR code on the side of the plug. I tapped Add to Apple Home, then gave the plug a location and a name. The plug was added to my Apple Home and given its own set of controls on the My Home screen.

(Credit: John R. Delaney)
The P110M plug worked flawlessly in testing, responding instantly to my Alexa, Google, and Siri voice commands to turn on and off. It had no trouble following my on-and-off schedules created in the Tapo app, and on-and-off commands via the Apple Home, Google Home, and Alexa apps also worked like a charm.
I created an Alexa routine to have the P110M turn on when a Ring Outdoor Cam Pro detected motion, and it worked without a hitch, as did my HomeKit automation to have the plug turn on when an Eve Motion sensor was triggered.